Label based traceability provides users the ability to generate trace labels that will contain a trace id number. This number can be printed for manual recording and entry or barcoded for automated capture. The help documentation has been broken down into the following areas.
•Setup and Configuration
•Trace Questions
•Trace ID Label Generation
•Trace ID Capture During Fill & Ship
Food Connex Cloud Label Reading Requires
•Firefox Browser
•Barcode Scanner. (Datalogic Powerscan PM9300 suggested)
Food Connex Cloud Label Generation Requires:
•Firefox Browser
•Zebra Printer Language (ZPL) compatible label printer. (Datamax i Class Mark II suggested)
Add label printer
oThis is assuming the label printer is already setup on the network and the IP address is known
•Hold the Win key and from R to bring up the run command
•Type “control printers” as seen and press OK
•Choose Add a printer from the new window
•Then Add a network Printer
•Choose the printer I want isn’t listed

•Select Add a printer using a TCP/IP
![]()
•Type in the IP address of the printer in “Hostname or IP address”
oUncheck “Query the printer” and click Next
•If Prompted for “Additional port information required”, click Next
•Next windows will populate print drivers
oUnder manufacturer choose “Generic”
oAfter, under printers choose “Generic/Text Only”
•When prompted for Printer name, use “FoodConnex Label Printer” Assign numbers if multiple printers are to be added.
•At this point the printer will finish installing.
oSince the printer is networked, it does not need to be shared.
•Leave “Set as the default printer” checked and hit Finish
•Please note for Seamless Print and Labels to print correctly the Label Printer must be the default printer. If you change this setting for another printer to be your default you will need to set the Label Printer as default again before trying to print labels, or else it will go to whichever printer you have set as default.
Set Margins to 0 and disable headers and footers.
•Open Firefox
oGo To File at the top and hit Page Setup
▪If File is missing hit the “Alt” key on the keyboard to show it at the top
•Choose “Margins & Header/Footer”
oChange All items under Headers & Footers to be “—blank—“
The instructions below will allow labels to be printed without a confirmation box.
•Open Firefox
oIn the navigation bar enter: about:config
oA warning message will display indicating this may void warranty, click I accept the risk.
oIn the config search bar enter: silent
oClick the option print.always_print_silent so that it is set to true
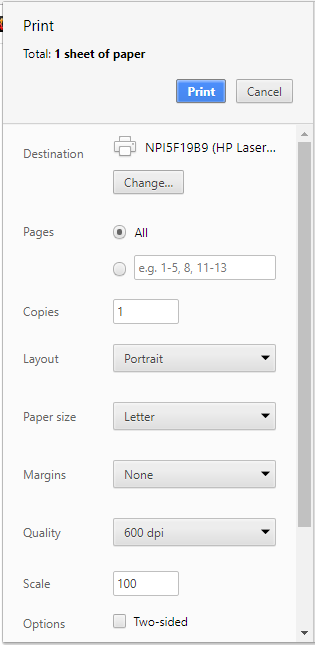
Alternate Configuration for Chrome
•Open Chrome
oSelect Print
oSelect +More option
oSet Margins to "None"
•Close Chrome
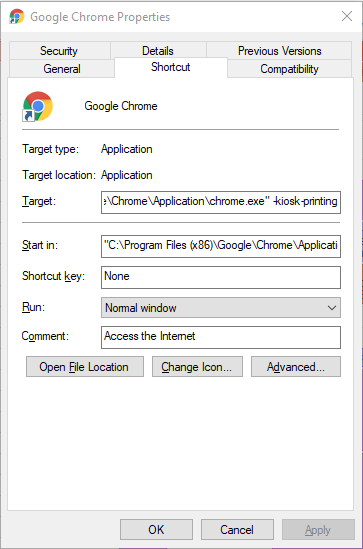
oRight Click on Chrome Icon
oChoose Properties
oIn the Target Field add: -kiosk-printing
oThis must be done exactly as shown below, after the closing quotation marks with a space before the dash
oTo disable kiosk printing mode open the properties and remove this portion of the command